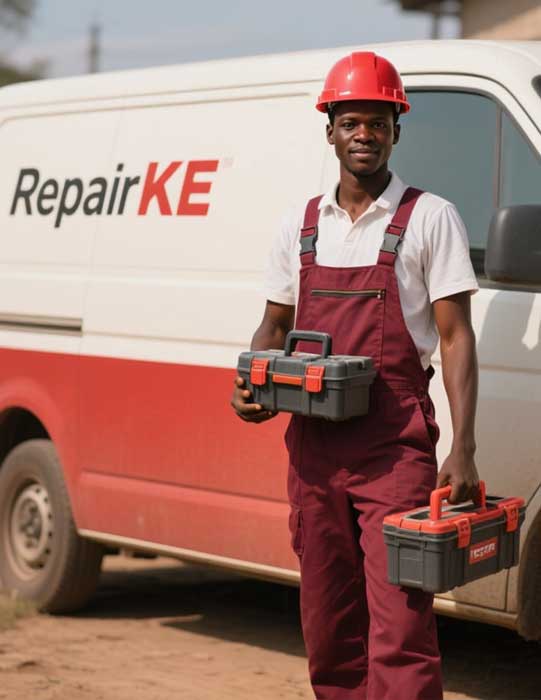
Gas stoves are a staple in many kitchens, valued for their precise heat control and reliability. In Nairobi, Kenya, where households and commercial kitchens depend on gas stoves for daily cooking, maintaining these appliances is essential. One critical component, the burner cup, directs gas flow to ensure an even flame for efficient cooking. Over time, burner cups can become damaged, corroded, or clogged, leading to uneven flames, gas leaks, or inefficient burning. Replacing universal gas stove burner cups is a practical solution to restore performance. This article, presented by RepairKE, a leading appliance repair service provider in Nairobi, outlines the step-by-step process for replacing universal gas stove burner cups, along with safety considerations and maintenance tips.
Understanding Burner Cups
Burner cups, also known as burner bases or flame spreaders, are the circular components beneath the burner caps on a gas stove. They house the gas ports that release fuel, which is ignited to produce flames. Universal burner cups are designed to fit multiple stove brands, such as LG, Samsung, Ariston, or local models, making them a versatile replacement option. Common issues necessitating replacement include:
- Corrosion: Rust or wear from spills and heat exposure.
- Clogging: Blocked gas ports due to grease or food debris.
- Cracks or Warping: Physical damage causing uneven flames or gas leaks.
- Inefficient Burning: Weak or yellow flames indicating poor gas distribution.
Replacing faulty burner cups improves safety, cooking efficiency, and stove longevity.
Tools and Materials Needed
Before starting the replacement process, gather the following:
- Universal burner cups (compatible with your stove model).
- Screwdriver (flathead or Phillips, depending on stove design).
- Soft brush or toothbrush.
- Mild detergent and warm water.
- Dry cloth or towel.
- Needle or pin (for clearing clogged ports).
- Replacement gaskets or seals (if required).
- Safety gloves and goggles (optional for added protection).
Ensure the replacement burner cups match the stove’s specifications, which can be verified through the manufacturer’s manual or by consulting a professional service like RepairKE.
Step-by-Step Replacement Process
Follow these steps to replace universal gas stove burner cups safely and effectively:
1. Ensure Safety
- Turn Off Gas Supply: Close the gas valve connected to the stove to prevent leaks. If using a cylinder, ensure it is fully shut off.
- Disconnect Power: Unplug the stove from the electrical outlet if it has electronic ignition or controls.
- Allow Cooling: Ensure the stove is cool to avoid burns.
2. Remove Burner Components
- Lift Off Burner Caps: Gently remove the burner caps (the topmost part) by lifting them straight up. Set them aside.
- Detach Burner Heads: Depending on the model, the burner head may lift off or require unscrewing. Check for screws securing the head and use a screwdriver if needed.
- Access the Burner Cup: The burner cup is now exposed, typically secured to the stove top with screws or clips.
3. Remove the Old Burner Cup
- Unscrew or Unclip: Use a screwdriver to remove any screws holding the burner cup in place. For clip-based models, gently pry the cup loose.
- Inspect Gaskets: Check for rubber or silicone gaskets beneath the cup. If damaged, plan to replace them.
- Clean the Area: Use a brush and mild detergent to clean the stove top around the burner area, removing grease or debris.
4. Install the New Burner Cup
- Verify Compatibility: Ensure the universal burner cup matches the original in size and port configuration.
- Place Gaskets: If required, install new gaskets to ensure a tight seal and prevent gas leaks.
- Secure the Cup: Position the new burner cup in place and fasten it with screws or clips, ensuring it sits flush with the stove top.
- Clear Ports: Use a needle or pin to ensure the gas ports are free of manufacturing debris.
5. Reassemble and Test
- Reattach Burner Head and Cap: Place the burner head and cap back onto the new cup, ensuring proper alignment.
- Restore Gas and Power: Turn on the gas supply and plug in the stove.
- Test the Burner: Ignite the burner to check for even, blue flames. Adjust the burner head if flames are uneven or yellow, indicating misalignment or blockages.
- Check for Leaks: Apply a soapy water solution to the burner cup’s edges. Bubbles indicate a gas leak; if detected, turn off the gas and consult a professional.
6. Clean and Maintain
- Wipe down the burner components with a dry cloth.
- Schedule regular cleaning to prevent future clogs or corrosion.
Safety Considerations
- Gas Leak Risks: Always turn off the gas supply before starting work. If you smell gas or suspect a leak, evacuate the area and contact a professional immediately.
- Electrical Safety: Ensure the stove is unplugged to avoid shocks, especially for models with electronic ignition.
- Professional Assistance: If unsure about compatibility, gas connections, or complex stove designs, contact RepairKE for expert service to avoid safety hazards.
Maintenance Tips
To prolong the life of burner cups:
- Clean regularly with a soft brush and mild detergent to remove spills and grease.
- Avoid harsh chemicals that can corrode metal.
- Inspect ports monthly and clear blockages with a pin.
- Schedule professional maintenance every 6–12 months, especially for commercial kitchens in Nairobi.
Replacing universal gas stove burner cups is a straightforward process that restores efficient cooking and enhances safety. By following the outlined steps and prioritizing safety, Nairobi residents can maintain their gas stoves effectively. For complex replacements or to ensure optimal results, RepairKE offers professional services across Nairobi, using genuine parts and expert technicians.
For assistance with burner cup replacement or gas stove maintenance, contact RepairKE at RepairKE.com or visit our Nairobi office. Keep your kitchen running smoothly with our trusted expertise.